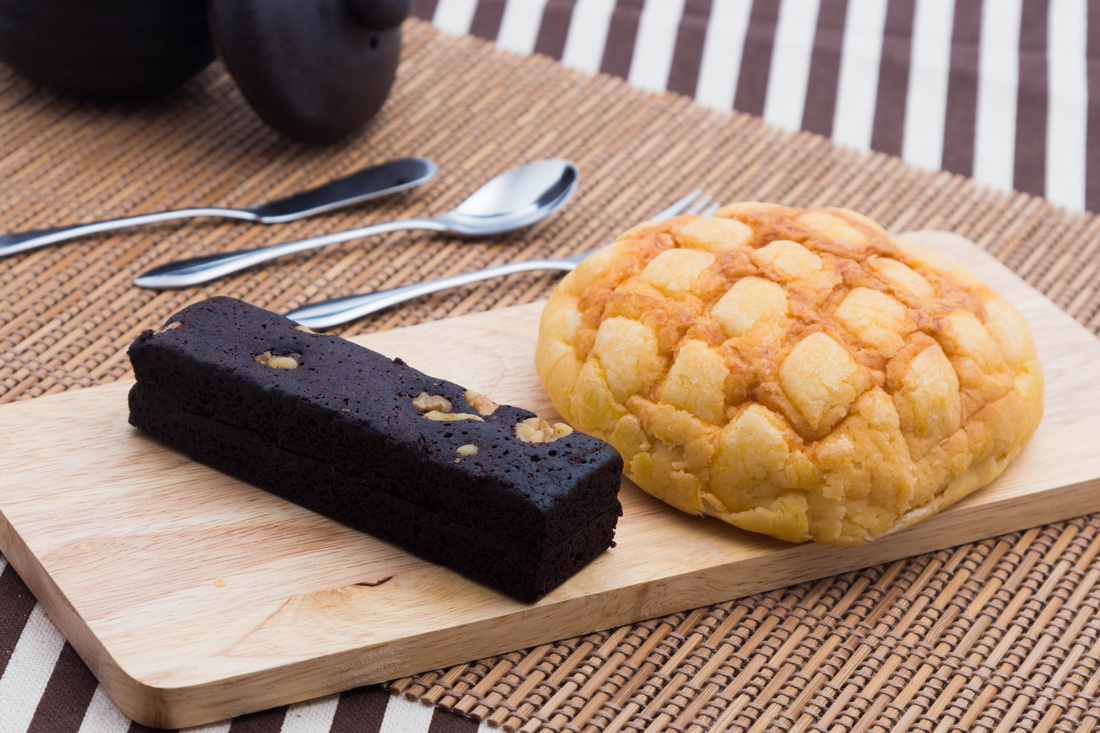
Today was a good start at trying ways to light food, in this case, pastry and bread! One of the challenges was to find out what looked good and how to light the thing to make you wanna just grab it and stuff it into your throat, not literally, but you get the idea.
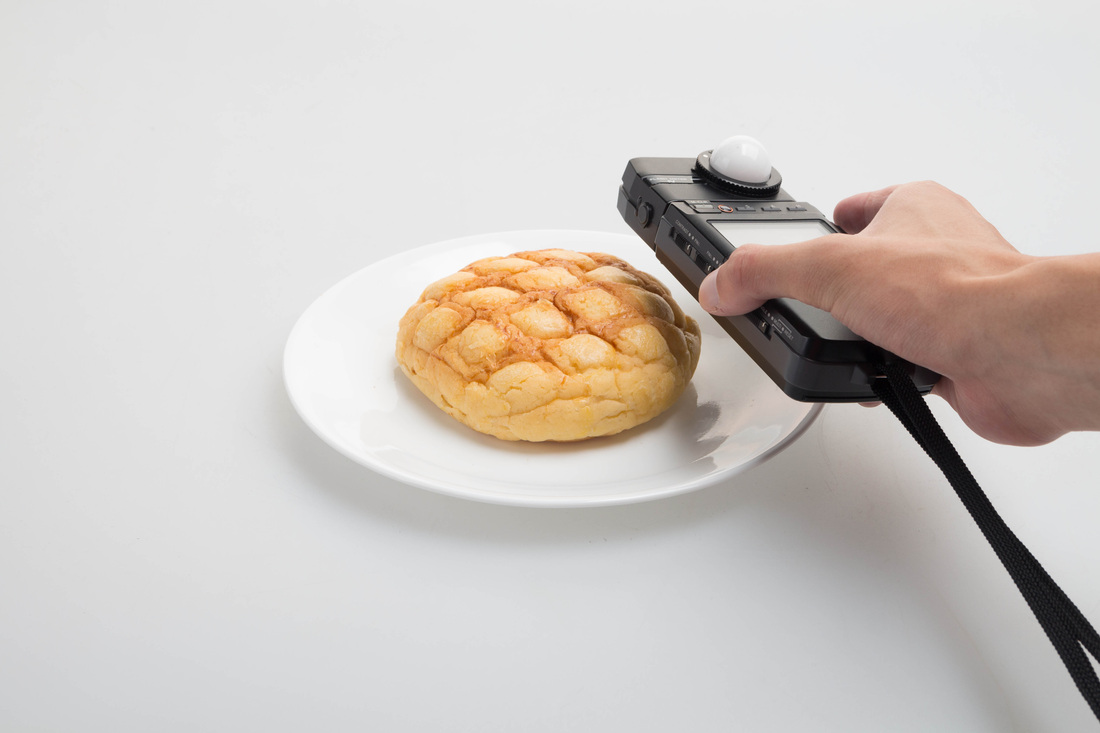 When using light meter, make sure it is as close too the object as possible when pointing into the light you're trying to measure. | 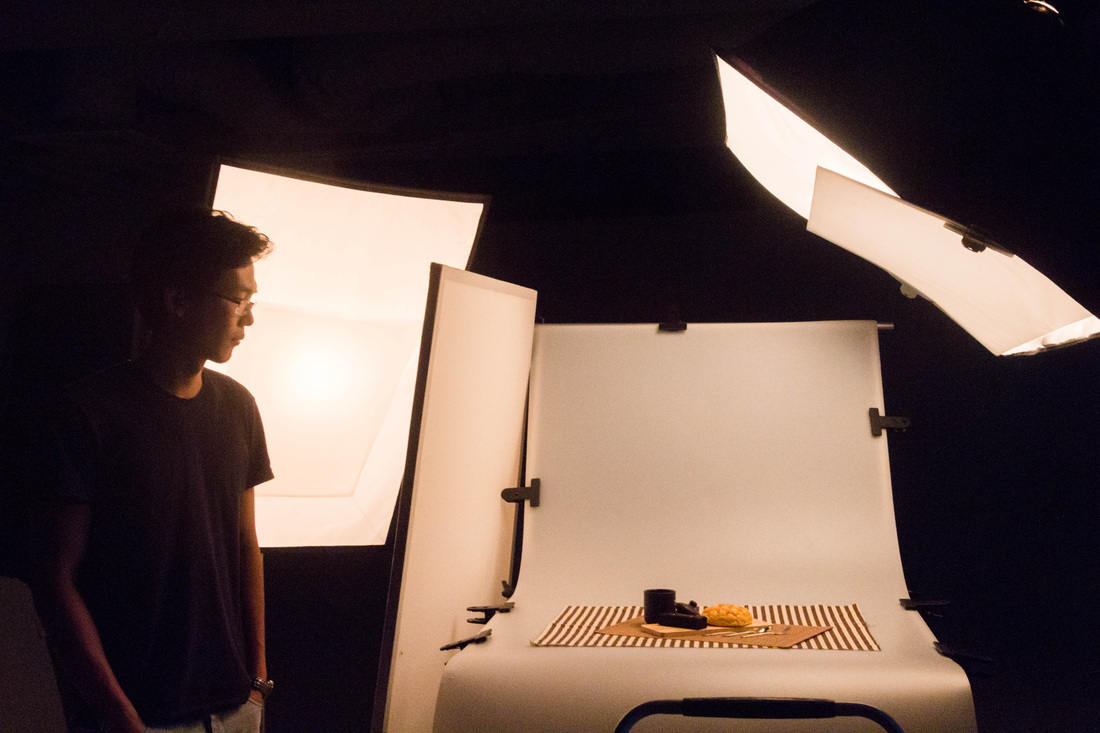 Edward staring at the bread to keep it quiet. LOL |
1st thing to learn before even snapping is to figure out how to use a light meter, now that was a challenge, to understand F stops, shutter and colour shifts whereby the strobe creates is quite something to absorb in the beginning. Luckily for me, we have Edward (HURRAH!) to guide me. One of the things I gradually forget is to PUT THE LIGHT METER CLOSE TO SUBJECT.
When checking for a certain light to measure it's exposure, make sure the light meter is as close to the subject as possible while pointing it at the strobe you're trying to take a reading from. As far as I know, exposure is measured in stops, as in how many degrees of light. For example, F1.4 - F2 is considered as ONE stop of light and that goes the same in the following order F1.4, 2.8, 4.0, 5.6, 8, 11, 16, 22.
When checking for a certain light to measure it's exposure, make sure the light meter is as close to the subject as possible while pointing it at the strobe you're trying to take a reading from. As far as I know, exposure is measured in stops, as in how many degrees of light. For example, F1.4 - F2 is considered as ONE stop of light and that goes the same in the following order F1.4, 2.8, 4.0, 5.6, 8, 11, 16, 22.
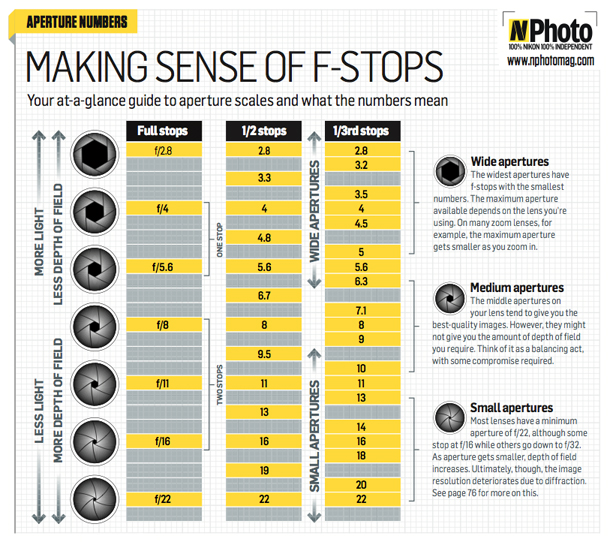 | *For more information on F-stops, check out this link =) http://www.digitalcameraworld.com/2012/03/17/free-f-stop-chart-master-your-aperture/ which directs you to this cheat sheet! Awesome Stuff! |
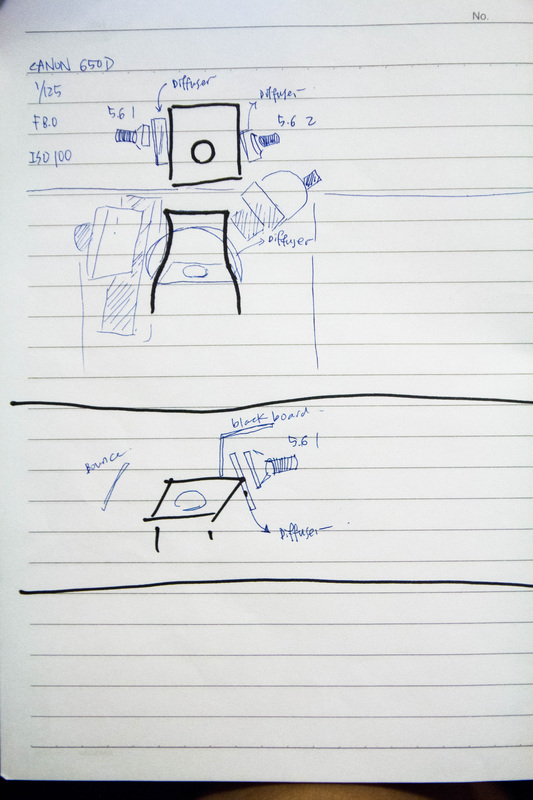
Another thing to remember is that Shutter Speed is not a main factor when using PURELY strobes, as the camera is a tool to absorb light, you would only have the flashes as your main power source, so if you open your iris for 3 seconds, the results would be pretty much the same compared to a shutter speed of 1/125. Something to remember, this. But it throws off your colour and can create some interesting colour shifts, this, I'm still trying to wrap my head around (will post an update on this after some experimentation).
test results.
 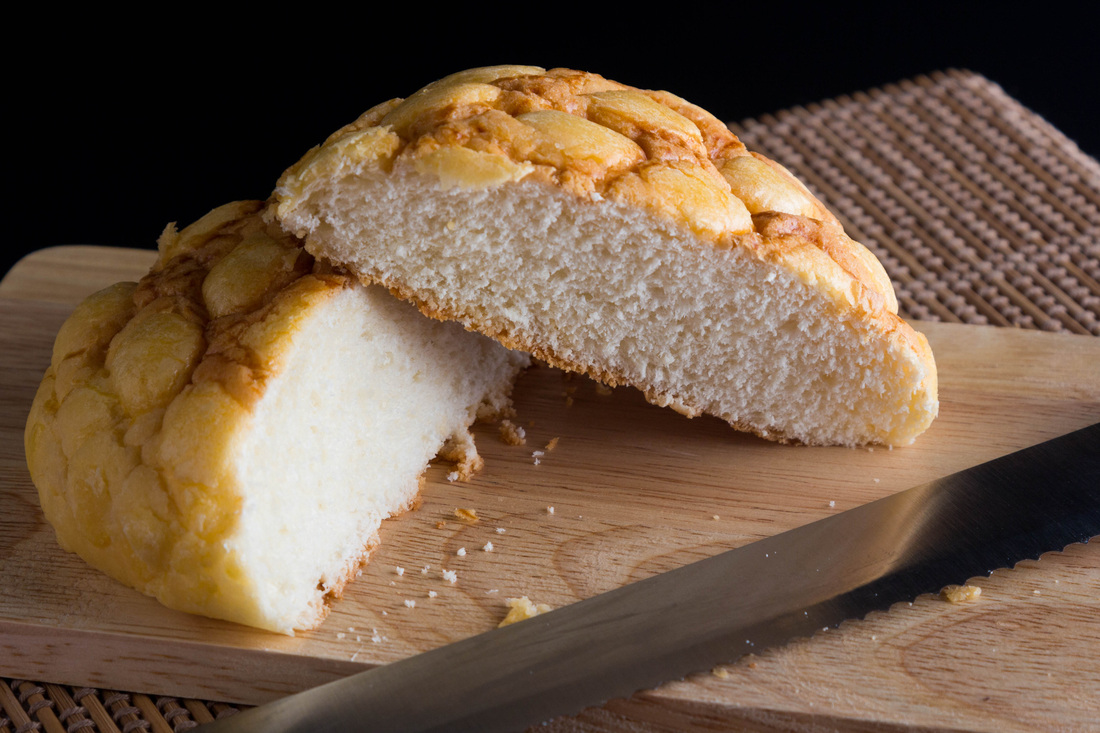 |  |
We got some pretty interesting shots (by We, I mean Edward). We came up with a few set-ups as to shoot a purely white background for editorial use and played around with other kind of set-ups for a more appealing-wanna-eat-you-kinda-look. Am a bit nervous as to see what kind of pastry the client's going to bring tomorrow. =D
neat trick. white background!
 White Background. Most would prefer a white background but ours is a grey one but works perfectly fine. 1st, what we needed is 2 lights pointing into the background at a preferable angle. Then we had the 2 lights set to an exposure of F11 while using a shutter of 1/125 and ISO at 100. When measuring exposure (using the light meter), Edward told me to go in a 3x3 sequence when measuring the background's exposure, this would keep the background evenly lit and over-exposed (PURE White!). Next, we added a soft box and measured it at F8.0, we would then get a really nice wrap around our subject! =D *Another nice thing to do is to switch off the 2 lights which are lighting the background. And because our background was initially GREY, we get a really nice contrast and the subjects just pops! 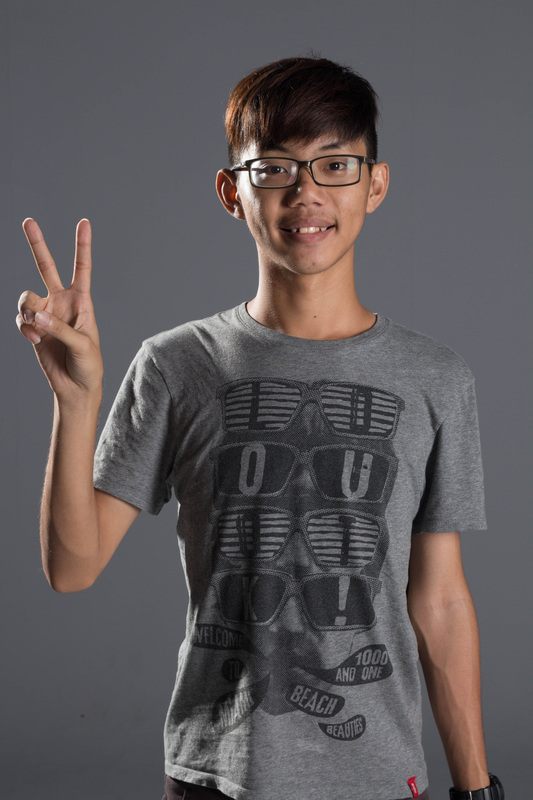 2 background lights turned off revealing a grey background. 振輝 posing as a model. | Before leaving the photo booth, we got a free lesson from Edward to light a white background! Previously we used 1k constant-open-faced-tungsten lights to light the background and 2 more in the front to act as a key, but that went up to 1000 ISO !!! (and we could only open our aperture WIDE OPEN) Anyway, the light setup is pretty simple for this neat trick. 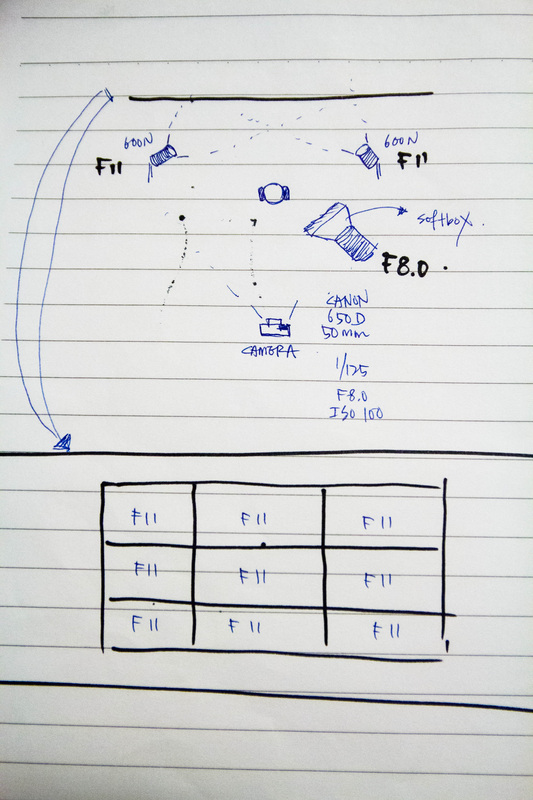 That's all for today, hope you'll learn something from this, I know I had. Cheers, for now =) |
 RSS Feed
